Cart
0
How to Build a Professional-Quality Home Music Studio on a Budget
Discover how to create a top-notch home music studio without breaking the bank by focusing on essential gear, smart budgeting, and effective acoustic treatment.
Key Takeaways
- Prioritize core components like audio interface, microphone, monitors/headphones, DAW, and acoustic treatment.
- Smart budgeting involves buying used gear, DIY room treatment, and starting with essentials before expanding.
- Choosing the right space and optimizing room acoustics greatly improve recording and mixing quality.
- Versatile microphones and quality audio interfaces provide the foundation for professional sound.
- Proper monitoring and DAW choice empower accurate production regardless of budget.
Table of Contents
- Introduction to Building a Home Music Studio on a Budget
- Smart Budgeting for a Home Music Studio
- Essential Gear Checklist for a Budget Home Studio
- Choosing the Right Space and Optimizing Room Acoustics
- Microphone Recommendations for Budget-Friendly Recording
- Selecting the Best Audio Interface for Your Setup
- Studio Monitors and Headphones for Accurate Sound
- Choosing and Using a Digital Audio Workstation (DAW)
- Acoustic Treatment and DIY Soundproofing Solutions
- Practical Tips from Industry Professionals
- How to Scale Your Home Studio Budget: From $350 to $2,500
- Final Thoughts: Building a Home Music Studio that Works for You
- FAQ
Introduction to Building a Home Music Studio on a Budget
Whether you’re an independent musician, producer, or passionate hobbyist, having your own home music studio can turn your creative ideas into professional-quality recordings without emptying your wallet. With thoughtful planning and careful gear selection, creating a studio that sounds great on a realistic budget is entirely within reach.
This guide covers essential equipment choices, acoustic tips, and practical budget strategies that focus on performance first, not price. From microphones to audio interfaces, studio monitors, and effective room treatment, you’ll learn how to build a setup that delivers exceptional sound without overspending.
1. Smart Budgeting for a Home Music Studio
One of the biggest challenges is avoiding gear acquisition syndrome—the temptation to accumulate expensive equipment that doesn't directly improve your recordings. Instead, focus your spending on components that truly enhance sound quality.
Prioritize These Key Components:
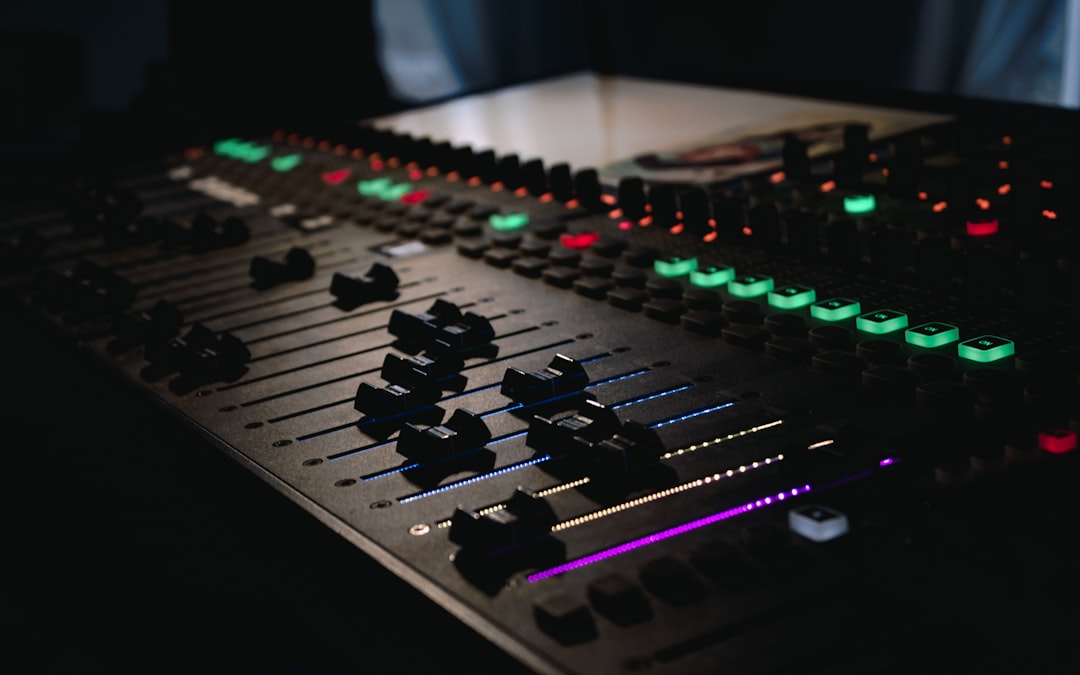
- Audio Interface: The heart of your setup, converting analog signals into digital audio for your computer.
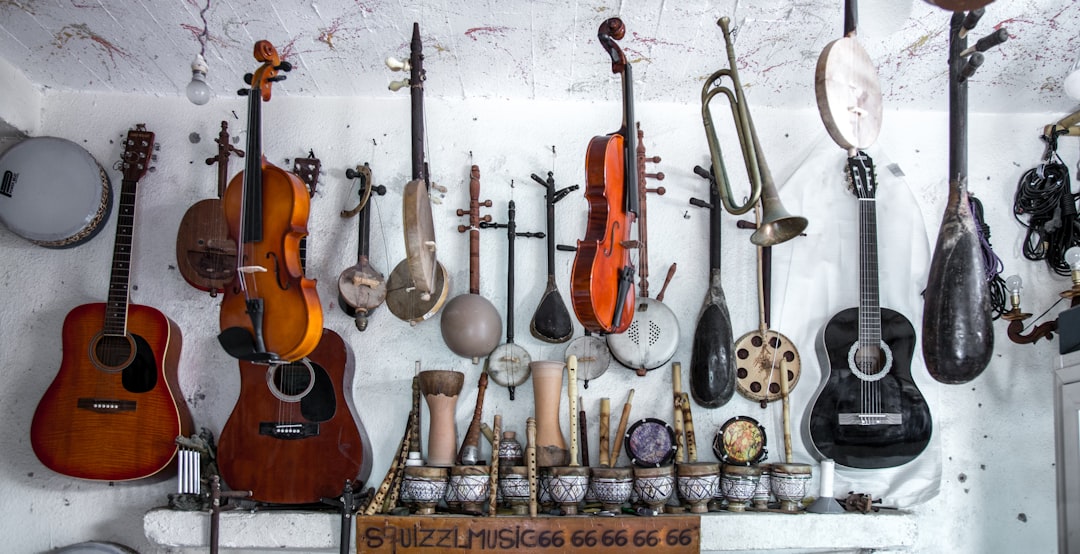
- Microphone: Captures the authentic character of your voice or instruments.
- Studio Monitors and/or Headphones: Crucial for accurate monitoring and mixing.
- Digital Audio Workstation (DAW): The software where you create and edit your music.
- Acoustic Treatment: Improves room acoustics to deliver clearer recordings.
Budget-Friendly Tips:
- Invest in a quality audio interface first—it sets the foundation for all recordings.
- Shop for used or refurbished gear to save 30–50% without sacrificing quality.
- DIY acoustic treatment options offer amazing improvements at low cost.
- Start with essentials and expand your setup as your skills and needs grow.
By prioritizing spending and avoiding unnecessary purchases, you create a streamlined, effective studio that produces music sounding great across all listening setups.
2. Essential Gear Checklist for a Budget Home Studio
Great studios start with a few core tools. Here’s your essential starter list without overspending:
Core Components Every Studio Needs:
- Space: Choose a quiet room with low background noise and manageable acoustics.
- Computer: At minimum, 8GB RAM, quad-core CPU, and SSD storage for reliable performance.
- Audio Interface: Budget-friendly entry models like Focusrite Scarlett 2i2 or PreSonus AudioBox.
-
Microphones:
- Large-diaphragm condensers (e.g., Audio-Technica AT2020, Rode NT1A) for vocals and acoustic instruments.
- Dynamic mics (e.g., Shure SM57, SM58) for amps, drums, or live vocals.
- Studio Monitors: Neutral-sounding, such as KRK Rokit 5 G4 or JBL 305P MkII.
- Headphones: Closed-back models for tracking like Audio-Technica ATH-M50x.
- DAW Software: Free options include Reaper and Audacity; affordable paid options are Logic Pro X, Ableton Live.
- MIDI Keyboard (optional): Useful for electronic genres and virtual instruments.
- Cables & Stands: Quality XLR and instrument cables, sturdy mic stands.
Start with your computer, interface, microphone, and headphones. Add monitors and acoustic treatment as your budget allows to refine your setup.
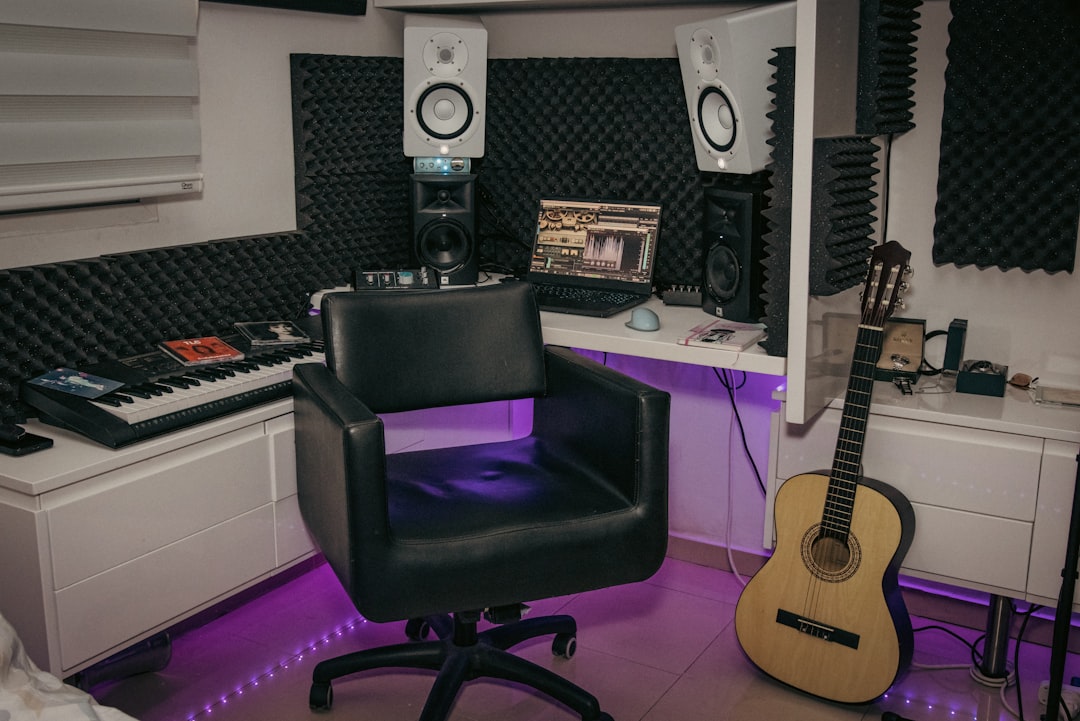
3. Choosing the Right Space and Optimizing Room Acoustics
A well-treated room impacts your recordings more than most gear upgrades. Poor acoustics cause muddy mixes and unpredictable playback across devices.
Choosing Your Studio Space:
- Avoid square rooms or those with low ceilings prone to troublesome reflections.
- Prefer quiet, irregular-shaped rooms with fewer parallel walls.
- Position your desk and monitors away from walls to reduce harsh reflections.
- Medium-sized rooms balance treatment needs and sound quality best.
Acoustic Treatment Essentials:
- Use absorbent materials such as foam panels, thick curtains, or DIY rockwool panels to soften reflections.
- Install bass traps in corners to control low-frequency buildup.
- Hang blankets or duvets on early reflection points for an affordable quick fix.
- Position your listening spot in an equilateral triangle with your monitors for optimal stereo imaging.
Low-Cost DIY Options:
- Mattresses or heavy blankets hung on walls absorb sound affordably.
- Filled bookshelves scatter reflections acting as diffusers.
- Portable mic reflection filters reduce room noise during tracking.
Effective room treatment brings clarity and confidence to your recording and mixing decisions, making all other gear investments more meaningful.
4. Microphone Recommendations for Budget-Friendly Recording
Your microphone choice shapes the sound you capture. Good news: budget mics can deliver professional results if used thoughtfully.
Condenser Microphones (Vocals & Acoustic Instruments):
- Audio-Technica AT2020: A versatile, clear starter mic priced under $100.
- Rode NT1A / NT2A: Offers warmth and detail for more polished recordings.
Condenser mics require phantom power and a quiet room but capture detailed performances well.
Dynamic Microphones (Loud Sources & Untreated Rooms):
- Shure SM57: Reliable workhorse for guitar amps, snare, and vocals.
- Shure SM58: Known for rugged durability, great for versatile vocal tracking.
Dynamic mics tolerate background noise better and excel in less ideal environments.
Buying Tips:
- Choose one versatile mic that fits your primary recording style.
- Look for bundles including stands and cables to maximize value.
- Consider reputable second-hand sources for savings on popular models.
Quality mic plus proper placement and treatment outweigh having multiple mediocre microphones.
5. Selecting the Best Audio Interface for Your Setup
Your audio interface is the technical bridge converting analog sound to digital signals. Selecting one that matches your recording needs is crucial.
Best Budget Interfaces:
- Focusrite Scarlett 2i2: Classic choice, two inputs, clear sound—ideal for singer-songwriters.
- PreSonus AudioBox USB 96: Affordable and easy-to-use for basic sessions.
Mid-Range Options:
- Audient iD14: Clean preamps and ADAT expandability for more inputs.
- Universal Audio Apollo Twin: High-end converters and onboard DSP for real-time effects, suited for advanced users.
Considerations:
- Number of inputs/outputs depending on solo or band recording needs.
- Quality of preamps for clean, quiet signal capture.
- Compatibility with your computer and DAW.
- Potential for future expansion.
Buying Advice:
- Used interfaces in great condition offer premium features for less.
- Some packages include helpful software or cables to get started immediately.
Your audio interface establishes the technical ceiling of your recordings—choose quality first for lasting results.
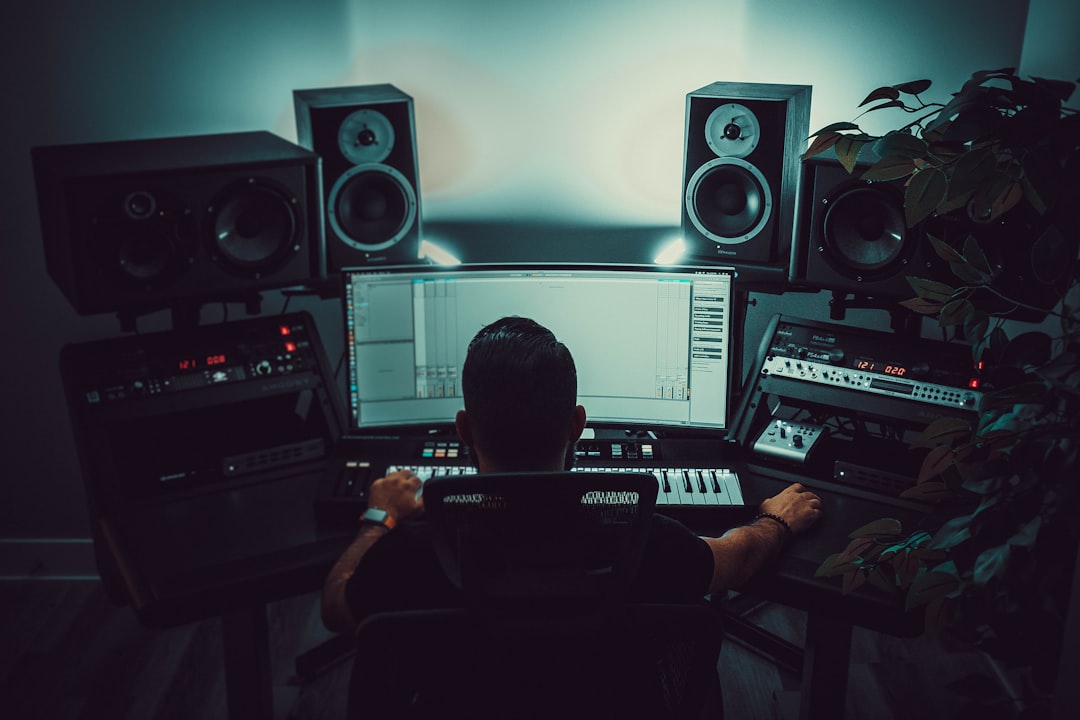
6. Studio Monitors and Headphones for Accurate Sound
Accurate monitoring lets you hear what’s really happening in your tracks so you can mix effectively. Even on a budget, reliable options exist.
Affordable Studio Monitors:
- Designed for neutral frequency response—not exaggerated bass or treble.
- Popular budget choices include:
- KRK Rokit 5 G4
- JBL 305P MkII
- Focal Alpha 6.5”
Headphones for Tracking and Mixing:
- Closed-back headphones isolate sound during vocal and instrument tracking.
- Top budget picks:
- Audio-Technica ATH-M50x
- Sony MDR-7506
Ear Health Tips:
- Avoid raising volume levels too high during long sessions.
- Take hearing breaks at least every hour to avoid fatigue.
Begin with quality headphones, then add monitors to improve your mixing accuracy as your budget allows.
Celebrate the season with savings — get 5% off your order using code EXCLUSIVE5 at checkout
7. Choosing and Using a Digital Audio Workstation (DAW)
Your DAW is the creative hub for recording, arranging, and producing music. Pick one that complements your workflow and style.
Popular DAW Choices:
- Free:
-
Affordable Paid:
- Reaper: $60 license, highly customizable and lightweight.
- Studio One Artist: Often bundled with hardware.
- High-End Options: Logic Pro X (Mac), Ableton Live, Pro Tools.
Selection Factors:
- Workflow style—tracking, beat-making, or live performance focus.
- Included plugins and sound libraries to extend creative options.
- System requirements and computer compatibility.
Many audio interfaces ship with introductory DAW versions to help you begin right away.
8. Acoustic Treatment and DIY Soundproofing Solutions
Your room quality can make or break your studio sound. Fortunately, many treatments can be created or adapted affordably.
Budget Room Treatment:
- Hang heavy curtains or blankets on reflective walls to absorb sound.
- Use pillows in corners to tame bass frequencies.
- Create DIY panels from rockwool or foam for walls and ceilings.
- Apply portable mic reflection filters to isolate vocals during recording.
Affordable Soundproofing:
- Install mass-loaded vinyl or moving blankets to minimize external noise.
- While full soundproofing is costly, reducing noise sources offers great benefits.
Why It Matters:
- Clearer sound translates to mixes that sound great across all systems.
- Reduces muddiness and troublesome reverb in small spaces.
DIY acoustic treatment provides the best value when improving your room’s sound quality.
9. Practical Tips from Industry Professionals
Grammy-winning engineers emphasize mastery over gear quantity. Here’s what pros recommend:
- Fully learn your existing equipment—it often outperforms more gear you barely know.
- Focus on quality monitors and room acoustics before adding more microphones.
- Use closed-back headphones during vocal tracking to avoid bleed.
- Simplify your workflow—more gear doesn’t guarantee better results.
- Explore second-hand markets to afford higher-quality equipment with the same budget.
"Skill, planning, and well-used reliable tools consistently build the best recordings."
10. How to Scale Your Home Studio Budget: From $350 to $2,500
Entry-Level Setup (~$350)
- Minimalist but functional: one mic, interface, headphones, and free DAW.
- Use existing furniture and computer.
- Great for solo vocals, guitar, or demo editing.
- Example gear: Focusrite Scarlett Solo, AT2020 mic, ATH-M50x headphones.
Mid-Tier Studio (~$1,500)
- Add studio monitors and improved microphones.
- Supports light multitracking and overdubbing.
- Start investing in acoustic treatment.
- Example gear: SSL 2+ interface, RE-20 microphone, Adam Audio T7V monitors.
Advanced Budget (~$2,500)
- Enhanced microphones, premium monitors, and full acoustic treatment.
- Supports full multitrack sessions with high-fidelity sound.
- Ideal for demo production close to commercial release quality.
Plan your upgrades focusing on sound quality and workflow rather than gear quantity to make the most of your budget.
Final Thoughts: Building a Home Music Studio that Works for You
Creating a professional-sounding home music studio doesn’t demand a hefty investment — it demands smart choices. Build around these principles:
- Invest in high-impact gear essential for your recording goals.
- Master your tools fully to maximize their potential.
- Treat your room acoustics before upgrading gear further.
- Scout second-hand markets and bundles for better value.
- Choose a DAW that fits your creativity and workflow seamlessly.
With patience and focus, your studio can grow from a simple setup to a powerful creative space. You don’t need the most expensive tools—just the right ones, well used. Start simple, build intentionally, and most importantly, enjoy making music.
For great starter kits and recommended gear, check out Building a Home Studio for $2,500 – DIY Music Guide.
FAQ
What is the most important piece of equipment in a home music studio?
The audio interface is crucial as it converts sound from your instruments or microphones into a format your computer can process. Quality preamps inside the interface strongly impact overall recording clarity.
Can I build a good home studio on a $500 budget?
Yes! Starting with essentials like a budget microphone, audio interface, headphones, and free DAW software allows you to record quality demos and vocals. Focus on optimizing your space and learn your gear well to get the most out of every dollar.
How important is acoustic treatment?
Acoustic treatment is extremely important—it shapes how your room interacts with sound. Proper treatment results in clearer recordings and more accurate mixes that translate well to other listening environments.
Should I buy new or used studio gear?
Buying used or refurbished gear can save a lot of money while providing excellent quality. Just ensure you purchase from reputable sellers and test the equipment when possible.
Which DAW is best for beginners?
Free DAWs like Audacity and Cakewalk are great for beginners. Affordable options like Reaper offer more advanced features without a large investment.